In Kansas, asphalt shingle roofs are a common sight, offering a balance of affordability, durability, and aesthetic appeal. However, even the most well-installed and maintained asphalt shingle roof is susceptible to leaks over time. Understanding the common culprits behind these leaks can empower homeowners to proactively address potential issues, prevent costly damage, and extend the lifespan of their roof. This article will delve into five distinct ways an asphalt shingle roof can develop leaks, providing insights into their causes, signs, and preventative measures.
1. The Perils of Aging and Deterioration: A Gradual Decline
One of the most inevitable causes of roof leaks is the natural aging and deterioration of asphalt shingles. Exposed to the relentless forces of nature—sun, wind, rain, snow, and extreme temperature fluctuations—shingles gradually lose their integrity over time.
Causes:
- Granule Loss: The protective granules embedded in asphalt shingles are crucial for deflecting UV rays and protecting the asphalt core. Over years of exposure, these granules wear away, especially in high-traffic areas like valleys or where water consistently flows. As granules disappear, the underlying asphalt is exposed to direct sunlight, leading to accelerated drying, cracking, and brittleness.
- Shrinking and Cracking: The asphalt in shingles can shrink and crack due to repeated thermal expansion and contraction cycles. This creates small fissures that allow water to penetrate. Additionally, the organic felt mat within some older shingles can dry out and become brittle, contributing to cracking.
- Curling and Cupping: As shingles age, they can begin to curl upwards at the edges or cup downwards in the center. This often occurs due to moisture absorption on one side or uneven exposure to sunlight. Curled or cupped shingles create channels for water to run underneath them rather than shed off the roof, leading to leaks.
- Loss of Adhesion (Uplift): The sealant strips on the underside of shingles, designed to bond them to the course below, can lose their effectiveness over time, particularly in high winds. This allows wind to lift the shingles, especially during storms, forcing water underneath and into the roof deck.
Signs of Aging/ Potential Leaks:
- Visible missing granules in gutters or on the ground.
- Brittle or cracking shingles when gently pressed.
- Shingles that are noticeably curled or cupped.
Preventative Measures:
- Regular Inspections: Annual roof inspections by a qualified professional can identify early signs of aging and deterioration.
- Proper Ventilation: Adequate attic ventilation helps regulate attic temperature, reducing heat buildup that can accelerate shingle aging.
- Tree Trimming: Overhanging branches can rub against shingles, causing granule loss and abrasion. Trim them back to prevent damage.
- Timely Repairs: Address minor issues like cracked or missing shingles promptly to prevent them from escalating into larger leaks.
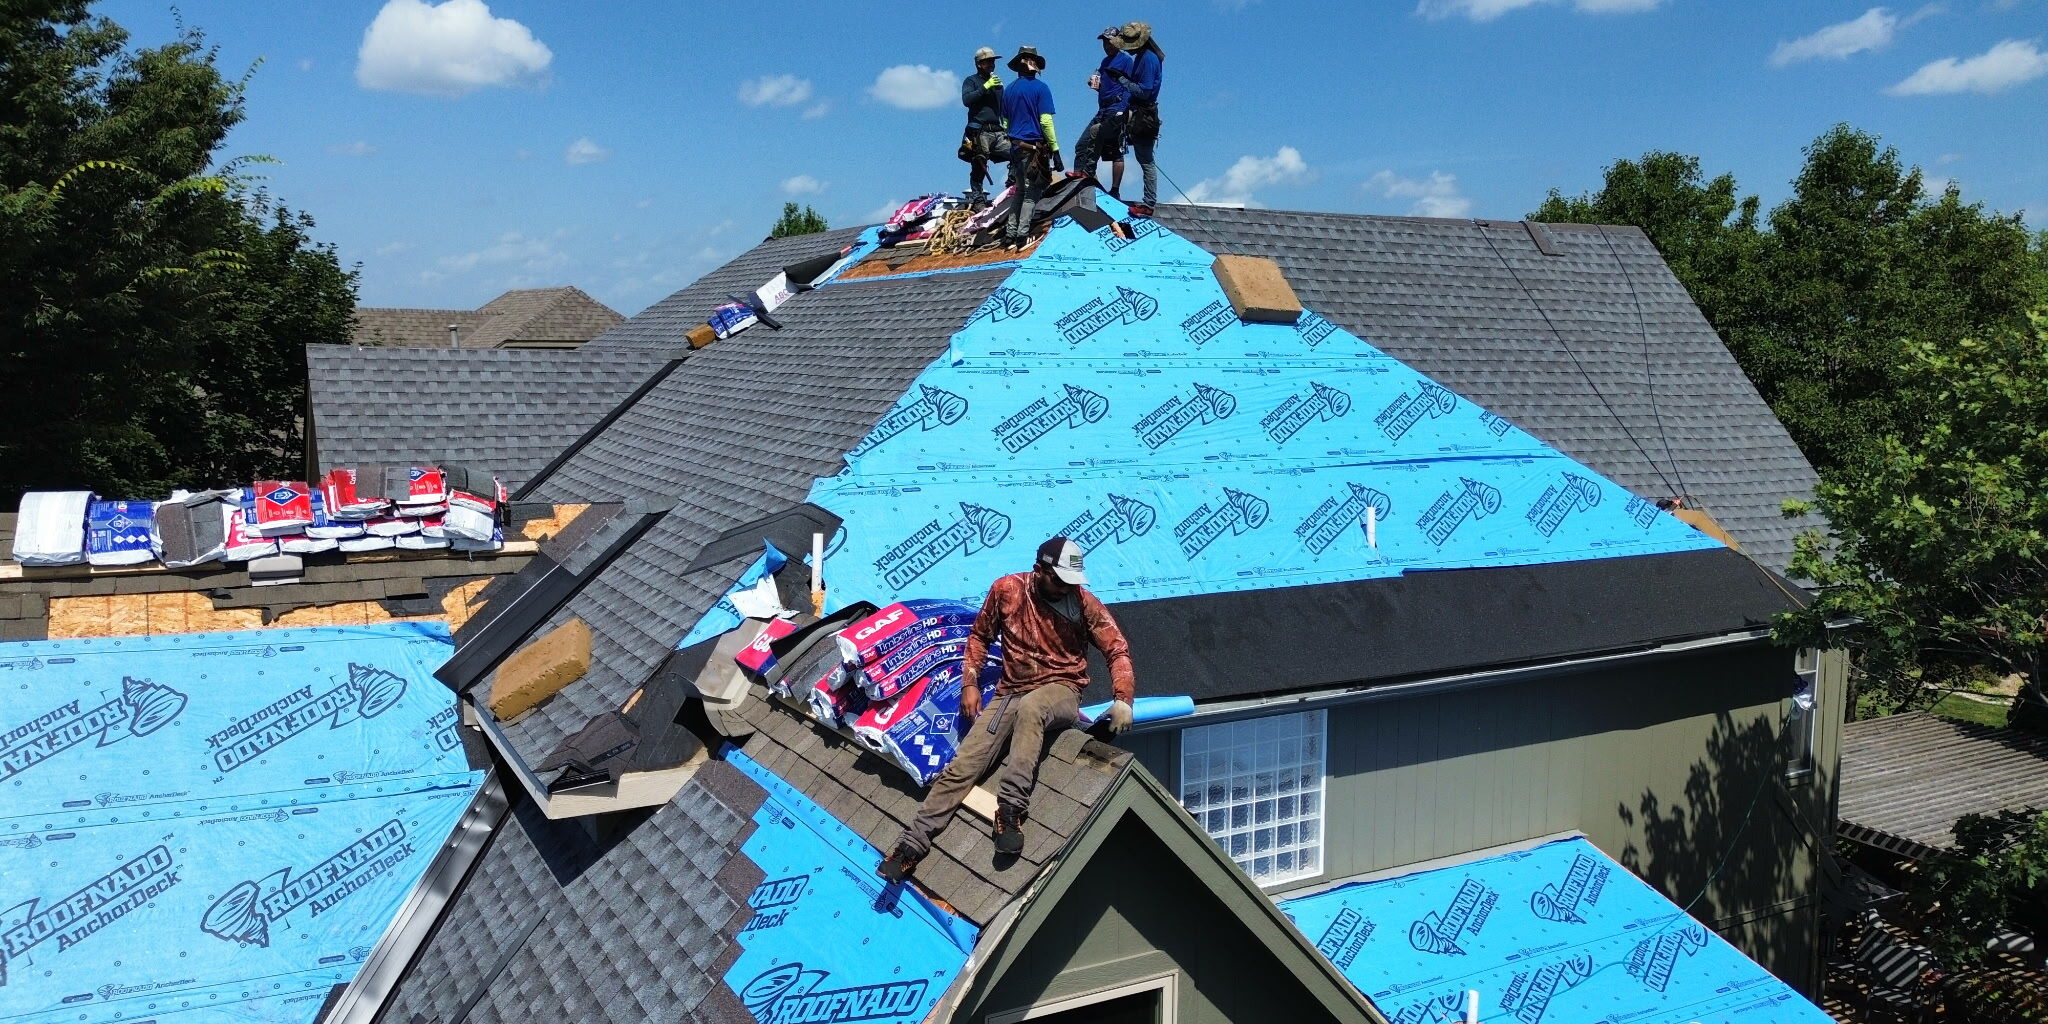
- Roof Replacement: For roofs nearing the end of their service life (typically 20-30 years for asphalt shingles), replacement is the most effective long-term solution.
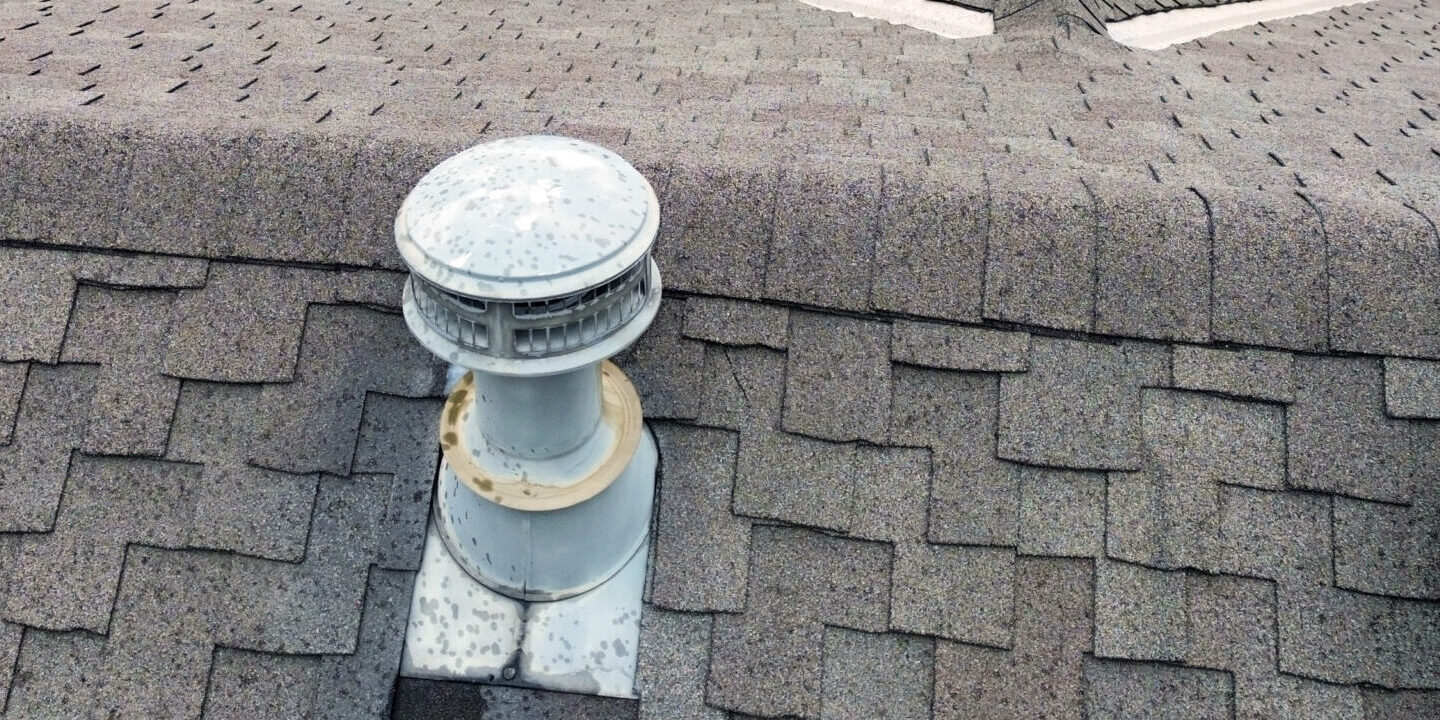
2. Flashing Failures: The Weak Links in the Armor
Flashing, typically made of sheet metal, is critical to sealing areas where the roof surface meets vertical surfaces, changes in pitch, or penetrations. These include chimneys, skylights, vents, valleys, and walls. When flashing is improperly installed, damaged, or deteriorates, it creates direct pathways for water intrusion.


Causes:
- Improper Installation: Flashing that is not adequately overlapped, sealed, or secured can allow water to seep behind it. For example, counter-flashing on chimneys must be mortared into the chimney brickwork, not just caulked, for a durable seal.
- Corrosion and Rust: Over time, metal flashing can corrode or rust, especially in areas where water pools or constantly flows. This creates holes or compromised seals.
- Separation and Cracking of Sealants: Sealants used around flashing (like caulk or roof cement) can dry out, crack, and pull away from the flashing or the adjoining surface, breaking the watertight seal.
- Mechanical Damage: Strong winds can bend or dislodge flashing. Falling debris, such as tree branches, can also dent or tear it.
- Settling of the Structure: Minor shifts in the house’s foundation or framing can put stress on flashing, causing it to separate from the roof or wall.
Signs of Flashing Leaks:
- Water stains directly below chimneys, skylights, or vent pipes.
- Peeling paint or discolored drywall in areas adjacent to roof penetrations.
- Visible rust or corrosion on metal flashing.
- Cracked or deteriorated caulk around flashing.
- Missing or bent flashing components.
Preventative Measures:
- Professional Installation: Always hire experienced roofers for flashing installation to ensure proper techniques and materials are used.
- Regular Inspections: Check flashing during roof inspections for signs of deterioration, rust, or separation.
- Maintain Sealants: Reapply or replace sealants as needed to maintain a watertight seal. Use high-quality, durable sealants designed for roofing applications.
- Clear Debris: Keep valleys and areas around chimneys and vents free of debris that can trap moisture and accelerate corrosion.
- Proper Fastening: Ensure flashing is securely fastened with appropriate nails or screws to withstand wind uplift.
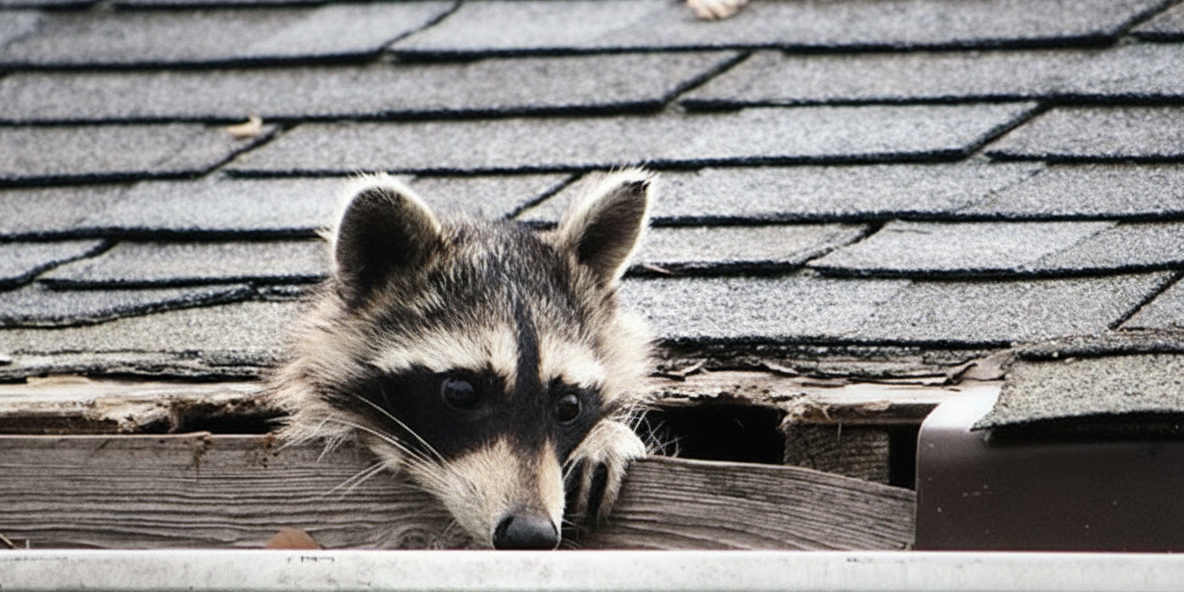
3. Damaged or Missing Shingles: Immediate Vulnerabilities
While aging causes gradual deterioration, sudden damage to shingles can create immediate and significant leak points. These can be caused by environmental factors or external forces.
Causes:
- High Winds: Strong winds, common during Kansas storms, can lift and tear off individual shingles, especially those with compromised sealant strips or those located on exposed edges. This leaves the underlayment and roof deck vulnerable.
- Impact Damage: Hail, falling branches, or other debris can cause significant damage to shingles, cracking them, creating punctures, or knocking them loose. Even small hailstones, over time, can cause widespread granule loss and compromise shingle integrity.
- Foot Traffic: Walking on asphalt shingles, especially during hot weather when they are softer, can dislodge granules, crack the asphalt, or loosen their adhesion. Improper placement of ladders can also cause damage.
- Improper Nailing: Shingles that are nailed too high, too low, crooked, or with too few nails are susceptible to being dislodged by wind or impact, leading to leaks. Over-driven nails can also create weak points.
Signs of Damaged Shingle Leaks:
- Visible missing or torn shingles on the roof.
- Cracked or punctured shingles.
- Indentations or “dings” on shingles, especially after a hail storm.
- Water stains on ceilings or walls that appear suddenly after a storm.
- Water dripping from the attic or interior spaces.
Preventative Measures:
- Secure Installation: Ensure shingles are installed correctly with the appropriate number and placement of nails.
- Avoid Unnecessary Foot Traffic: Limit walking on the roof as much as possible, and if necessary, wear soft-soled shoes and distribute your weight evenly.
- Post-Storm Inspections: After severe weather events (especially high winds or hail), conduct a visual inspection of your roof for any missing or damaged shingles.
- Trim Trees: Regularly trim tree branches that overhang the roof to prevent them from falling and causing impact damage.
- Professional Repair: Promptly replace any damaged or missing shingles to prevent water intrusion.
4. Clogged or Damaged Gutters and Downspouts: Backwater Blues

While not directly part of the shingle system, malfunctioning gutters and downspouts can indirectly lead to significant roof leaks, particularly along the eaves and fascia.
Causes:
- Debris Accumulation: Leaves, twigs, dirt, and other debris can accumulate in gutters, blocking the flow of water. This causes water to back up and overflow.
- Ice Dams: In colder climates like Kansas, clogged gutters can contribute to the formation of ice dams. When heat escapes from the attic, it melts snow on the roof. This meltwater flows down to the colder eaves, where it refreezes if gutters are blocked, forming an ice dam. The ice dam prevents subsequent meltwater from draining, causing it to back up under the shingles and leak into the attic and walls.
- Sagging or Detached Gutters: Gutters that are not properly pitched or have become detached from the fascia board can sag, allowing water to pool and overflow at weak points.
- Downspout Blockages: Downspouts themselves can become clogged, preventing water from draining away from the foundation and potentially backing up into the gutters.
Signs of Gutter-Related Leaks:
- Water overflowing from gutters during rain.
- Icicles forming on the eaves during winter, especially if accompanied by ice dams.
- Water stains or rot on the fascia board or soffit directly below the gutters.
- Mildew or algae growth on exterior walls below the roofline.
- Water stains on interior ceilings or walls along the exterior perimeter of the house, often starting near the eaves.
Preventative Measures:
- Regular Gutter Cleaning: Clean gutters at least twice a year, especially in the fall after leaves have fallen and in the spring.
- Gutter Guards: Install gutter guards to prevent debris from entering the gutters while allowing water to flow freely.
- Ensure Proper Pitch: Verify that gutters are properly pitched towards the downspouts to ensure efficient drainage.
- Extend Downspouts: Ensure downspouts direct water away from the foundation to prevent pooling and saturation around the house.
- Address Ice Dams: Improve attic insulation and ventilation to prevent heat loss that contributes to ice dam formation. Consider heating cables in problem areas if ice dams are a persistent issue.
5. Attic Condensation: The Silent Intruder
Attic condensation, often mistaken for a roof leak, can cause similar water damage symptoms. This occurs when warm, moist air from the living space rises into the attic and meets cold surfaces, leading to condensation.
Causes:
- Insufficient Ventilation: Poor attic ventilation traps warm, humid air, allowing it to condense on the underside of the roof deck, rafters, and insulation.
- Lack of Insulation: Inadequate insulation between the living space and the attic allows excessive heat and moisture to escape into the attic.
- Exhaust Fan Venting Issues: Bathroom fans, kitchen range hoods, and dryer vents that exhaust directly into the attic instead of outside introduce significant amounts of moisture.
- Unsealed Penetrations: Gaps around electrical fixtures, plumbing pipes, or pull-down attic stairs can allow moist interior air to leak into the attic.
- High Interior Humidity: Excessive humidity within the home from activities like showering, cooking, or even breathing can contribute to attic condensation if not properly managed.
Signs of Attic Condensation:
- Damp or wet insulation in the attic.
- Frost buildup on the underside of the roof deck or rafters during winter.
- Black mold or mildew growth on attic sheathing, rafters, or insulation.
- Water stains on interior ceilings or walls, especially those that appear randomly and are not directly associated with rain.
- Musty odors in the attic or upper levels of the house.
- Rotting wood in the attic structure.
Preventative Measures:
- Improve Attic Ventilation: Ensure proper intake (soffit vents) and exhaust (ridge vents, static vents, or powered vents) to create a continuous airflow through the attic.
- Increase Insulation: Add adequate insulation to the attic floor to create a thermal barrier between the living space and the attic.
- Properly Vent Exhaust Fans: Ensure all bathroom, kitchen, and dryer exhaust fans vent directly outside the house, not into the attic.
- Seal Air Leaks: Seal any penetrations or gaps between the living space and the attic using caulk, expanding foam, or weatherstripping.
- Control Interior Humidity: Use exhaust fans when showering or cooking, and consider a dehumidifier in highly humid environments.
Conclusion
Asphalt shingle roof leaks can be a homeowner’s nightmare, leading to costly repairs, structural damage, and potential health hazards from mold. By understanding these five primary ways an asphalt shingle roof can get leaks—aging and deterioration, flashing failures, damaged or missing shingles, clogged gutters, and attic condensation—homeowners in Kansas can take proactive steps. Regular inspections, timely maintenance, and addressing issues at their earliest signs are crucial. When in doubt, consulting a reputable roofing professional can provide peace of mind and ensure the longevity and integrity of your roof, protecting your most valuable asset.